Hey guys ! Long time no see. I wasn't full of enthusiasm in the last weeks, but it might have changed this week-end. Let me explain why.
Shelley Noble let me that sweet comment concerning a post i made in March, speaking about my fears of doing my first mold... "Don't be scared of anything. You are way smart enough...." Hahahaha... Yeah you were right !
Here's a picture i took and edited this morning.

Usually, i don't post my failures here, except when i'm able to show how i solved the issues i encountered. I'll make an exception this time because, i threw away the idea of doing my claws from a mold. Reading the next part may be helpful for any newbie who want to go through this process. For the veterans, it can only be funny. =)
I first started with the idea that if i wasn't in possession of WED clay (or anything that would do a good clay bed) for doing the first part of the mold, i could directly pour plaster in a box. I was thinking that it would flows like water and leaves a nice smooth surface. I was wrong.
Here's my box.

I gently applied a good layer of Vaseline everywhere on it and on the sculpt.

I mixed the plaster of Paris and poured it.

As you can see in the next pictures, it didn't leaves a "smooth" surface.


I knew i was doing it wrong at this stage, but i decided to continue just to see how it would ends up. The cracks on the next pictures occured, because i putted the mold near an electric heater, just after pouring the the plaster for the second part. The top layer dried faster than the bottom ones, so the cracks appeared.


Unmolding the cake.

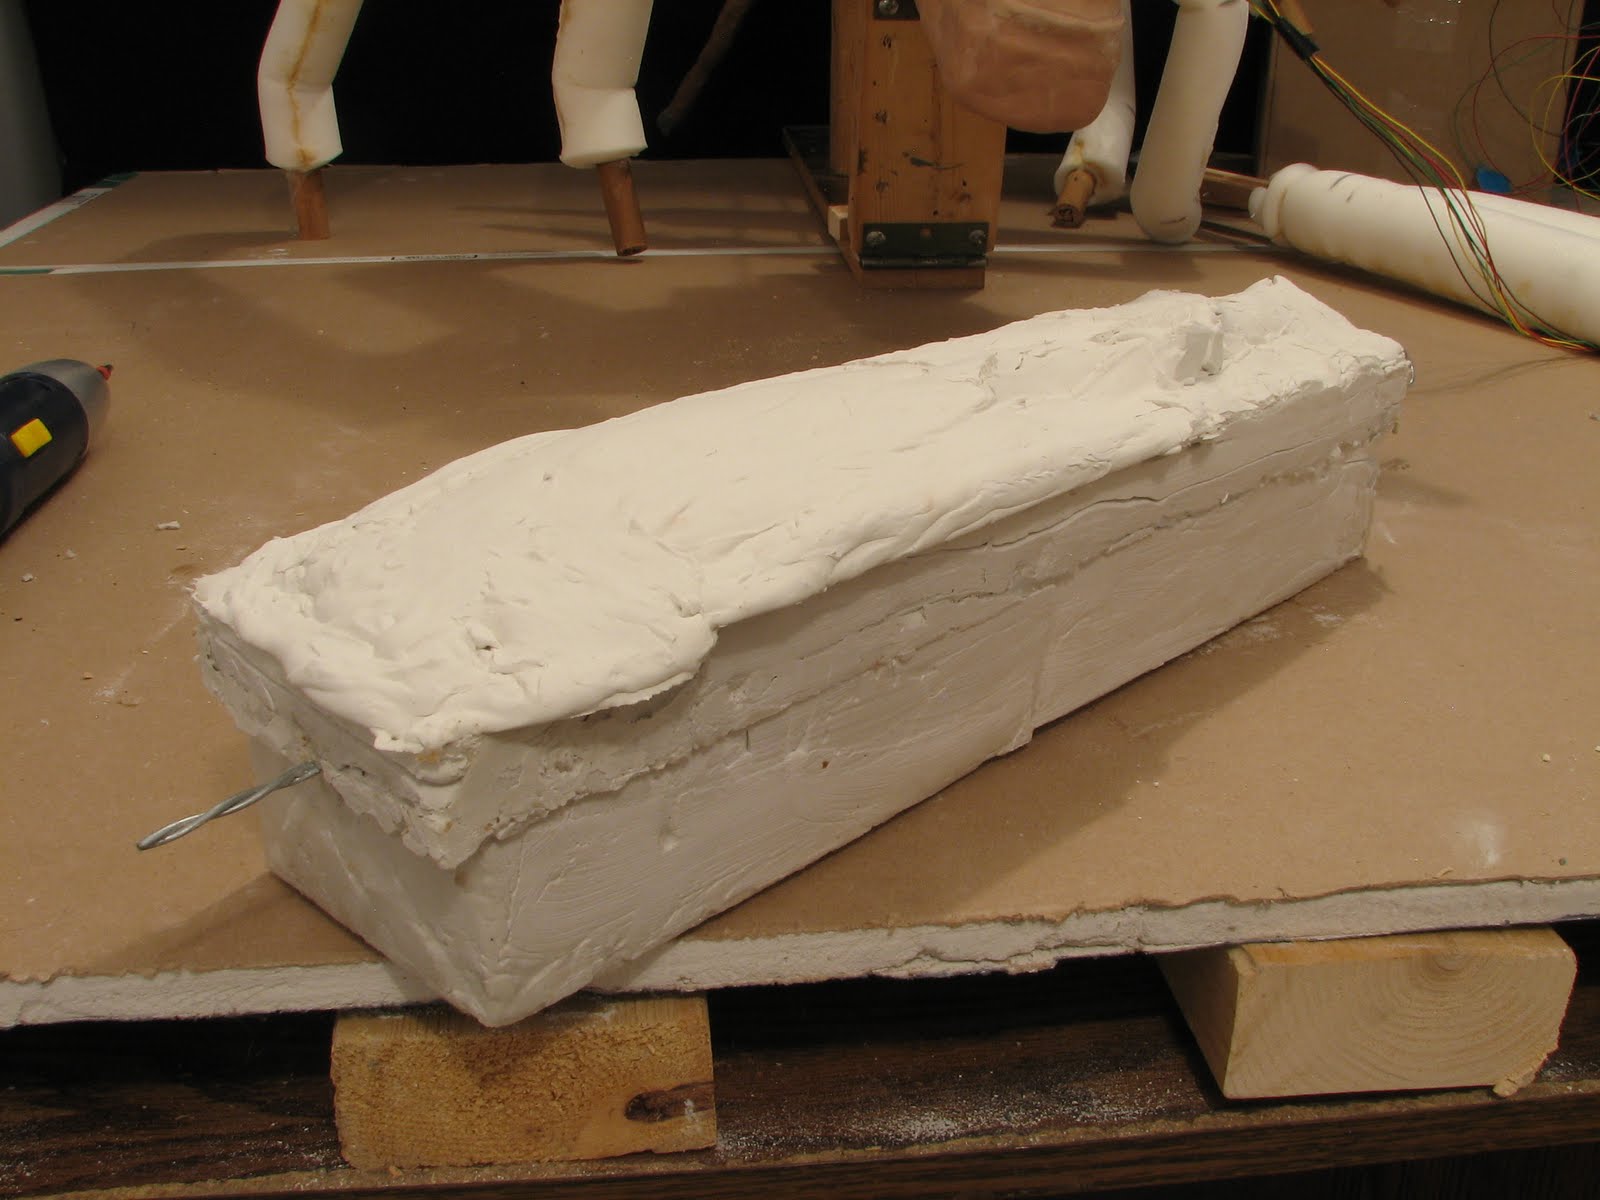
The first half was almost rock solid, but the second one breaked when i separated the mold. It's was too thin compared to the first half.

The mold pieces after i threw the mold in the trash can. I put them out afterwards to take a picture.

I highly recommend to beginners to read this thread on Stopmotionanimation.com, that contains many important advices. The tips comes from Nick Hilligoss and Mike Brent which are well known in the stopmotion community.
After that failure, i decided to go with a hard clay sculpting method. I begin that yesterday and even if the claws will be heavy, i'll don't have to do another sculpt and to go through all the molding process again. You can see on the next picture that i added styrofoam parts in order to save on the weight. I also added some nails, so the clay will have more grip on the armature.

First layer of clay. (they looks like turds, i know)


The reason, for which i decided to skip on trying the mold process again, is because i'm lacking time. One of my biggest motivation about finishing this movie in the next months, is that i want to have the chance to sent it as an entry for the Montreal Stopmotion Festival 2011 that will take place in October. I would love to see it on a big screen and to have the reactions of the crowd. I don't think i could wait 'til next year, so i made a plan with deadlines and there's not much place for trial and errors. I've done it thinking about delivering it at the very last moment (worst case).
Here it goes.

So, there's no time to lose. Must get back to work !


I can't tell you how many hundreds of hours I've spent, Vincent, working away on something like this and felt as though I completely wasted all of that precious time! Funny thing is that none of really is wasted because later, much later, the coordination or some information learned gets used for certain.
ReplyDeleteHaving said that though, I fully agree that build up claws are the way to go in this case. And, I don't know if you've considered it, but there are lightweight airdry clays or even papier mache surface over foam might also work for you.
I learned an awful lot about build up pupps from Nick too. Thank God for Nick and Mike!
Cool, man. I haven't really gotten into making molds yet, so your post is helpful in showing me what to avoid. I have to agree with Shelly on this one, there really is no wasted time, we just learn from experience. Seeya, dude!
ReplyDeleteGood luck with completing your film project on time Vincent. If it is any consolation I have had my share of trashed molds.
ReplyDeleteOne handy tip I picked up to strengthen molds was gently adding sections of burlap soaked in plaster while the first poured coat of plaster is still damp.
I was surprised when I saw you where going with the molds, for some reason I just assumed it was going to be build up.
ReplyDeleteThe whole thing is looking great and like Shelley said, everybody fails at something eventually and if you’ve learned something in the process, well then its not really a failure anyway.
Keep going man!
Jeff
yeah man....anytime someone is learning molding and casting....this is par for course.
ReplyDeleteso you are just getting past the crappy part....but exciting all the same.
good luck man..so cool to watch.
jriggity
Shelley: Thanks for your very useful help. I'm currently going with "papier mache surface over foam" as you suggested. Foaming is almost done by now.
ReplyDeleteJon: I'm glad to read that my post was helpful for someone. Afterwars, i found this experience helpful and amusing. I can't wait to play with these stuff again on a future project.
BlacknickSculpture: Thanks for the tips.
Jeff: "...i just assumed it was going to be build up." You were right :)
Yeah, i just got very lucky, since the beginning of this project with almost every ideas and crafted stuff i built/made/shot, so confronting failures after failures with everything my hands touch is a little tough for the motivation.
Thanks for the kind words.
jriggity: Thanks man !