Sunday, January 30, 2011

Skull construction part III

Another week with not much results, but many hours spent on it.  I've started with the installation of two new lights which are on top of the helmet.  I put them in place the same way i did for the eyes (view last week post).  The only difference is that the LITE-BRITE pins are sideways.  I'll have to adjust the LEDs because they bring much more light than the eyes.

Here are some pictures


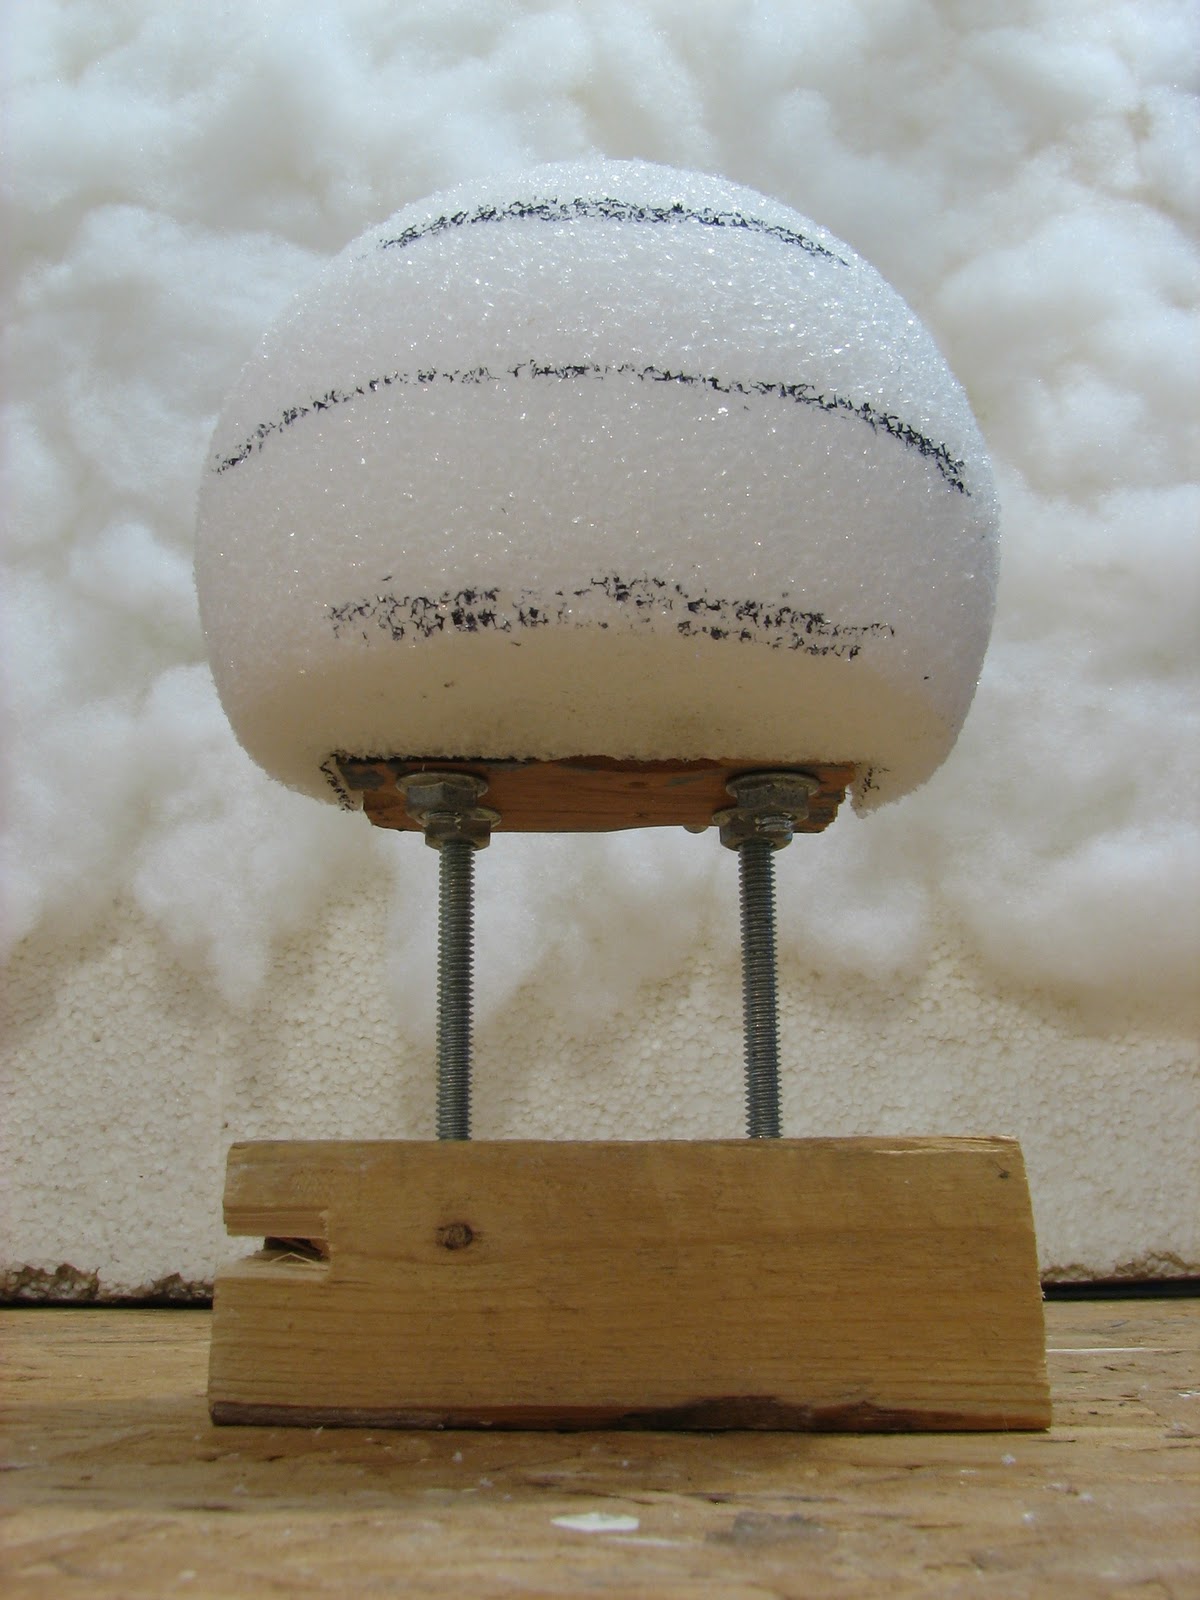
Than, i started working on the jaws mechanism.  My first idea was to put a hinge on the bottom jaw and to use aluminium wires as resistance.  It wasn't a good idea.  There's too much weight to get good results.


I was a little angry that night and couldn't find any alternative, so i ask for advices on stopmotionanimation.com .  The next day, Boy Oyng sent me this drawing and hope came back.


 Back to work, i made this according to Boy Oyng's drawing.


It was much better, but something wasn't right...  I forgot that the bottom jaw joint should be just under the skull and not low as i made it.  After taking apart this mechanism, i begin to build a third one using the same principle.  This time, it came out as i wanted it.


Here's a quick test of the jaws mechanism.


This week, i plan to start building the teeth and to add some shape on the bottom jaw.

Sunday, January 23, 2011

Skull construction part II

Woohoo !  What a week.
Many hours spent on my sculpt, but little progress with it.  

I took both eyes apart and made new ones, more circular.  I was afraid to continue adding details, because the core was too soft and weak, so i've baked it in my little oven in order to get a harder one.  The heaters were a little too near the sculpt so many large cracks appeared and one eye felt.  I patched the cracks with a new layer of Super sculpey, glue the felt eye back at its place and add more details.  The second baking was done in my BBQ outside the house at -25 deg C.  Heavy cracking again.  The other eye felt.  Glueing and patching again.  Third layer was baked with a hair dryer.

Some pictures of the sculpt before the second baking (BBQ).


I've applied some "spackling" stuff on it and used some sand paper to smoothen rought spots.  Two holes were done with a drill for the lighted eyes.  LEDs light come from the rear of the head.  Had some translucency issues.


Test with the LITE-BRITE pins. 


These are homemade light sockets that restrain light to illuminate only in the eyes.


Three orange pins are black tapped together with some SS for the shape.


More SS were added on the eyes.


Some tests with lightning.


It begins to look alive...

Sunday, January 16, 2011

Skull construction part I

A styrofoam ball for the skull padding.
 

This is a wooden square block with six endless screws in it.  It will be used as a joint for the upper and the bottom parts of the skull and i drilled a hole on the back side where the neck will be fix.


I shaped the place where the wooden block will be seated.


Adding some Super sculpey and starting to shape the core.


I didn't really liked the bottom parts of the eyes so i did this part again.  I baked the first layer in order to have a harder structure where i'll add details.  It looks very rough by now, but i'll smooth down everything before going any further.  I hope that the aluminium twisted wires (neck) will be able to support all this.  It's gaining weight and the bottom jaw isn't there yet. 


I founded the LITE-BRITE color pins that will be added on the skull for the eyes and over the head.  I hope to finish the details this week, so i could bake it once and for all.