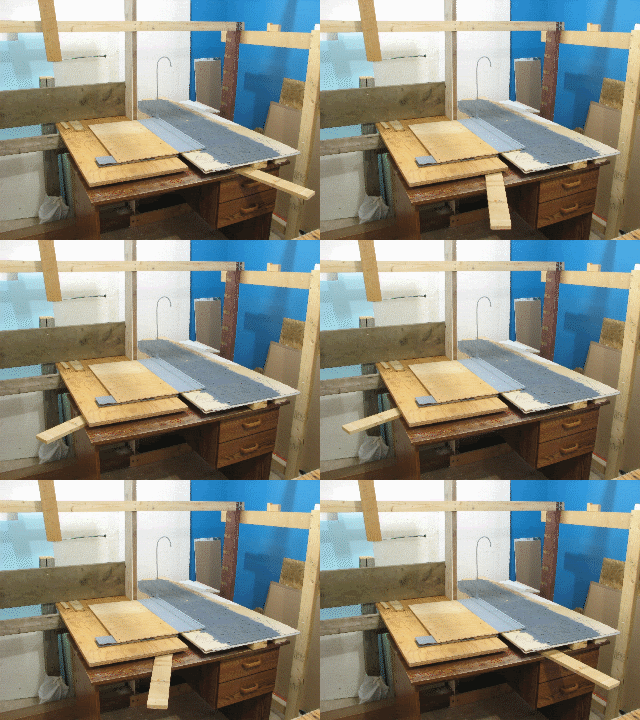
After a few days break of animating, i managed to begin my next sequence's setup. I had to remove everything from my stopmo room because my set required heavy modifications. In this sequence, there's a 180 degrees camera movement (almost 180 degrees). It took my a while before achieving what i wanted. Many ajustments where done but i think i'm on the right way.
Here's what it looks like so far
I think i'll use the rail to support my character for the 3 or 4 running steps he does at the beginning of the sequence and also for the jump through the wall (before we see the interior part). For the landing and the roll, i'm not sure yet but i think i'll use a little movable support that will stand inside the building on the floor. The rail will be use for the last part when he's "flying" toward the camera.
The camera support is fix with a screw on the desk, directly below the wall (he passes throught) which is the center of all the sequence point of view. The camera will be fix on that support.
One of the stopmotion important things to remember is to "tape down everything" in order to avoid anything to move while shooting. So i put a lot of screws on every pieces of the frame of the set.
What you see on the picture is the street and the floor of the inside of the building. I need to paint it and to build the front and one of the side wall. I need to place the buildings i have already used on the others sequences to finish the alley side of the set.
What you see on the picture is the street and the floor of the inside of the building. I need to paint it and to build the front and one of the side wall. I need to place the buildings i have already used on the others sequences to finish the alley side of the set.
Edit : 22-08-2010
- The alley set side is almost completed.
- The side wall and the floor of the interior part of the new building are done
- Some parts of the lightning are done
Edit : 30-08-2010
Here's some new setup's pictures
Measurement marks for the camera (rotating axis)
The interior's part of the new building
The wooden wall and the broken one
Some test shots
Things to do :
- The front wall is in progress done 25-08-10
- 2 windows and the hole in the front wall done 26-08-10
- Fixing the front wall on the set done 29-08-10
- Clouds on the alley side of the set could be required done 29-08-10
- Measurement marks for the camera (rotating axis) done 30-08-10
- Add a roof top for the building (to block the light) done 01-09-10
- Polishing the lightning done 01-09-10
- Built a character support done 01-09-10
- Measurement marks for the first part on the character support rig (running steps and the jump) done 01-09-10
- I need to modify setup so i can add at least 10 frames at the beginning of the sequence done 01-09-10


