Pheww... The teeth part is done !
This week, i've improvised all lot and luckily, the results are satisfying.


So, i built a two parts denture made of cardboard in order to get a harder base to sculpt the teeth. I've glued the cardboard in the desired shape, helped with the threaded rods to keep everything in place while drying.


There were way too big at second thought... Then i decided to use the cardboard denture as a mold for a Super sculpey new two-parts denture.


I prefer to secure the parts i like by baking them and to glue them on other previously baked parts. I had some problems before with baking a huge whole sculpt and i became more carefull.
A batch of Super Sculpey teeth recently baked.

First row of teeth on the upper denture (there's two rows of 'em on each parts).


Here's some pictures of the finished upper denture.


Here's more with all his teeth.


I did some work on the gums but, they aren't alreay as i want them. I might exaggerate them a bit (the bottom lip too). I was thinking since the very begining that latex will be pour on the bottom jaw to have a flesh effect, but i begin to have doubts about the fact that it could be uglier with it. I need to do some tests before going any further with that idea. Anyway, i need to paint it before.
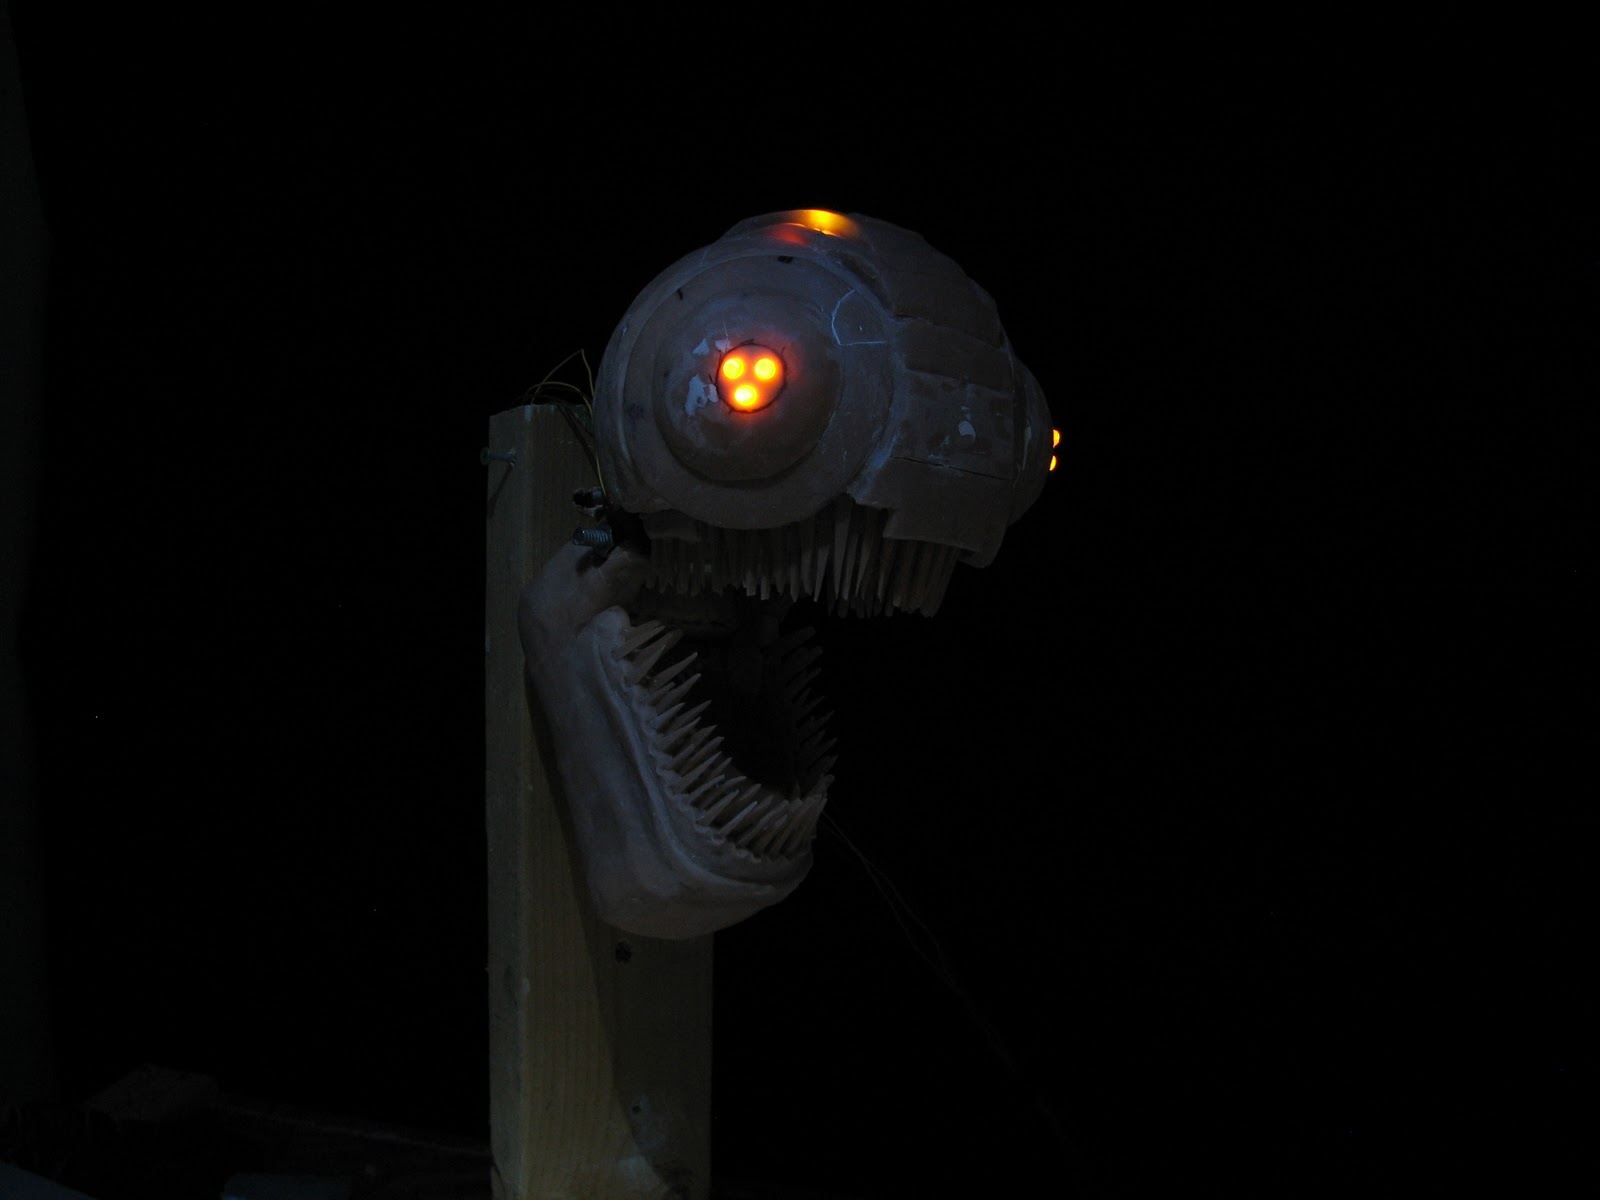
Pictures with a little lightning effect.


This weapon ordered on Ebay at a ridicule price arrived this week. Some exercices with it will be required. I can't wait to see this monster painted.

Here a picture of me working on the Corpser's dentition.


"mommy" 0.o
ReplyDeleteScary in a good way.
Very impressive Vincent! I really like the weekly update to follow. Cheers!
ReplyDeleteYou rock!!! That looks great.
ReplyDeleteJeff
Seriously, this looks ace!!
ReplyDeleteYou mentioned it being a bit fragile. Is that still the case or have you managed to fix it? I really really really hope it stays put.
By the way... how many teeth?! I don't envy your dentistry role.
Thanks all !
ReplyDeleteLudo: I try to weekly update. That helps to give me a kick in the butt on lazy weeks.
Dean: Don't really know if i can fix the fragility problem if there's one. I "feel" like it's fragile, but i'm not sure. I'm just very careful while touching it. I also hopes it stays put :) That's probably why i've took so many pictures of it. I didn't count the teeth until you mentionned it. There are 97 teeth.
Looks AMAZING, Vincent! Seriously great work! The last B/W pic looks like it belongs in a book about stopmo!
ReplyDeleteThanks Jon !
ReplyDeleteThat would be amazing to see this picture in a stopmo book. We never know. Maybe someday... :)
Vincent, after I discovered your works at vimeo, I just spent some time on you blog... Not only is it great to watch your project growing, but that you also share your knowlegde so generously! I'll keep following you!
ReplyDeleteThanks Jessica !
ReplyDeleteA great part of the knowledge i've earned while doing this project comes from my followers and from others people's blogs, i'm following. You may find interesting to visit there blogs too.
Looking great my friend!
ReplyDeleteI can't wait to hear from you when you paint it!
That's really awesome...looks like it could really put the clamps down on someone!!!
ReplyDelete