I took the last week off (stopmotion). I wasn't really in the mood to animate, so the only things i have done was removing the sequence 1 & 2's setup and putted in place the new one for the "Puddle" sequence. I tried some animating tests yesterday, but i had many lights flickering issues. I may try other things this week-end. Until then, here's the sequences done so far, before i removed the rigs, the wires and the lense dust.
Friday, October 22, 2010

Tuesday, October 12, 2010
Sequences #1 & 2 are completed
Here they are !
The sequence #2 was done on the same set as the first one (view previous post). I was looking again for a sunset, so i just replaced the different parts. Every parts was at different distances and the focus was on the character. The camera was set on a low aperture. This created a good feeling of depth.

The camera was installed on a moving wood board that was able to slide left & right. I put an old camera's support on that board. A ruler was installed on the sliding board and a mark was done on the set frame. I had to move the board 1mm by picture for a count of 64 mm.


I like the effect of the light at the end of the sequence. It happens when you shoot directly at a light at a slow shutter speed. No special effects were required.

Saturday, October 9, 2010
Sequence #1 "City" setup progress
The setup for this sequence is almost finished. I have underestimate this sequence for 2 reasons. First, there's a lot of clouds to do (not a whole sky, but almost) and secondly, it's very hard to adjust the lightning to create a sunset. The camera movement is basic, but i had to build a system with a lot of increments (around 125). I could have choosed to put the camera on a swivel screw, but the increments would have been hard to indentify. So, even if it looks complicated, my system works very well.

First, i've put 5 little screws (i don't screw them all the way) on a wood block in order to maintain the camera in place. I have a squared tripod adapter that i put under the camera and i slide it under the screws heads. I've put a hinge between the set's frame and the camera support.


Another wood piece was added to work as a tripod arm. Then, i've curved a thin wood board and fixed it in a way that the camera support is almost touching it on every position. The popsicles sticks will be added, one by one, and for each one added, i'll take a picture. A 2,5 lbs weight is installed on it so if some popsicles sticks are a little curved, that won't affect the increments.


As i said before, this set requires a lot of clouds. I built a "sky" over the street set. I've place styrofoam boards on a frame and glued pillow's stuff on them.
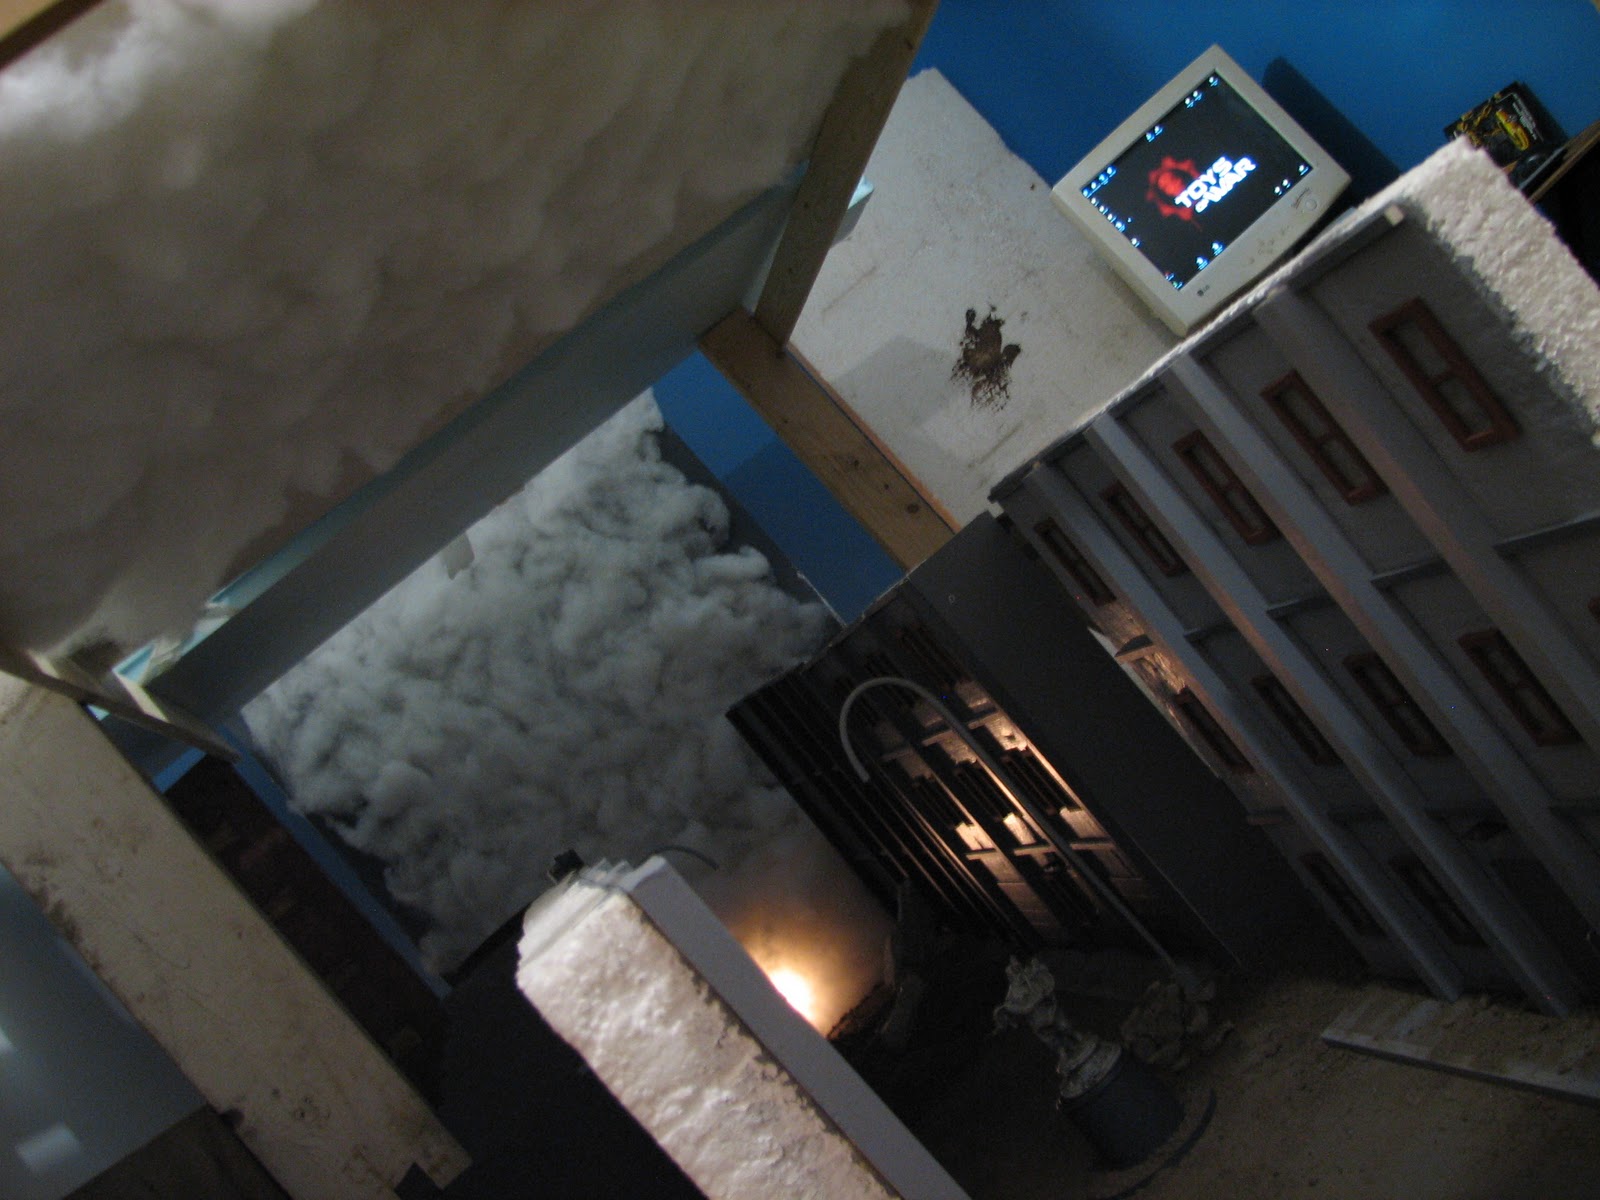


I have to go to Wallmart to buy another bag of pillow's stuff tomorrow to finish that.

This clouds board is at the end to the set. At the bottom of the board, there's the sunset.

I've used a desk light with a tungsten bulb to have a yellowish color (my camera is set on halogen, so tungsten light appears yellow). Under the clouds board, i built another clouds board with a hole in it.

The lightning needs adjustements, but the results i got so far are satisfying.

Updated - October 11th
The sequence is done. I'll upload it with the next one "Sunset" when it will be done too (maybe by the end of this week).
Here' pictures of the completed set.


Subscribe to:
Posts (Atom)